How to Number Tables at a Wedding or Event
Planning a wedding or event can be daunting, but when it comes to organizing the seating arrangement, numbering tables is essential.
Numbered wedding tables help guests find their designated seats and make it easier for the event staff to manage and provide a smooth experience for everyone involved.
This wedding guide will guide you through the numbering tables at a wedding or event... so you can have that "dreamy" wedding you desire!
1. Decide on a Numbering System
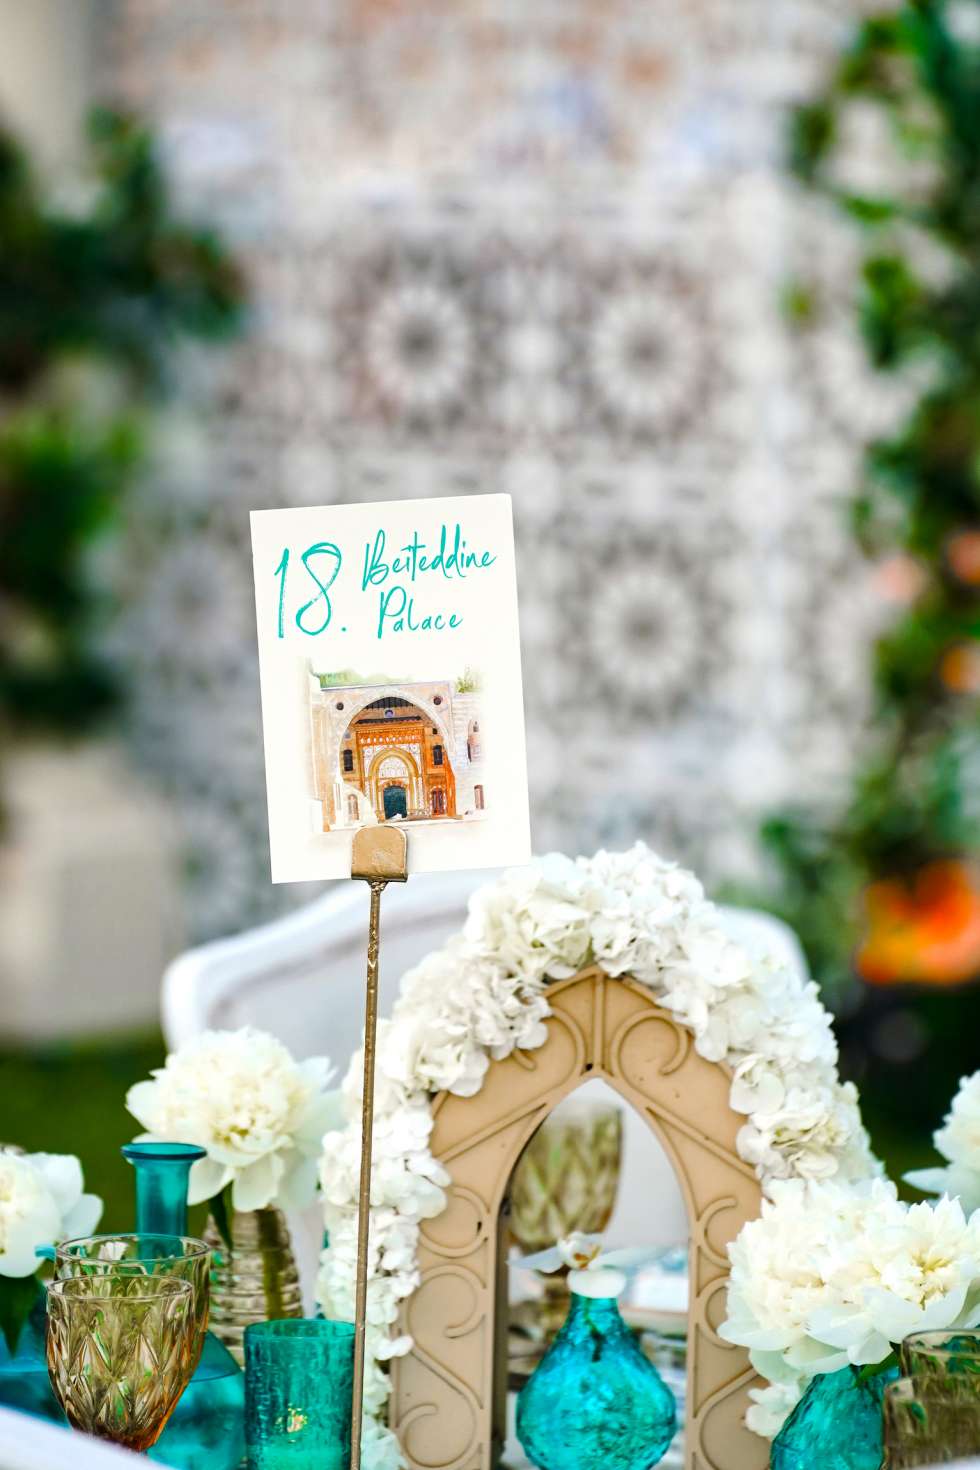
The first step in numbering tables is to decide on a numbering system that works best for you. You can choose a sequential numbering system (1, 2, 3, etc.) or a themed numbering system (names of places, flowers, cities, or favorite movies).
Also, it is important to ensure that the numbering system is clear and easy to understand by guests and event staff.
2. Plan the Layout
Before you start numbering the tables, it's essential to plan the layout of the seating area. Consider factors such as the size of the venue, the number of guests attending, and any specific seating arrangements that need to be made.
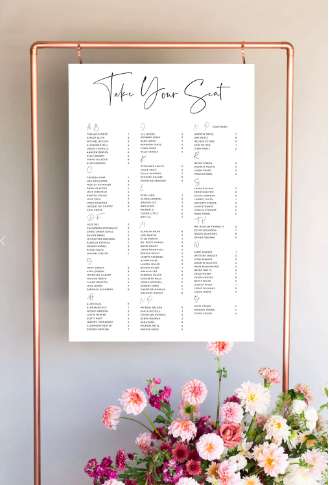
Create a seating chart or diagram that indicates the placement of each table.
3. Determine the Table Placement
Once you have the layout planned out, it's time to determine the placement of each table. Consider factors such as the proximity of certain tables to important areas like the dance floor, stage, or bar. Consider assigning specific tables for the bridal party or VIP guests.
Ensure that each table is easily accessible and has enough space for guests to move around comfortably.
4. Select Numbering Materials
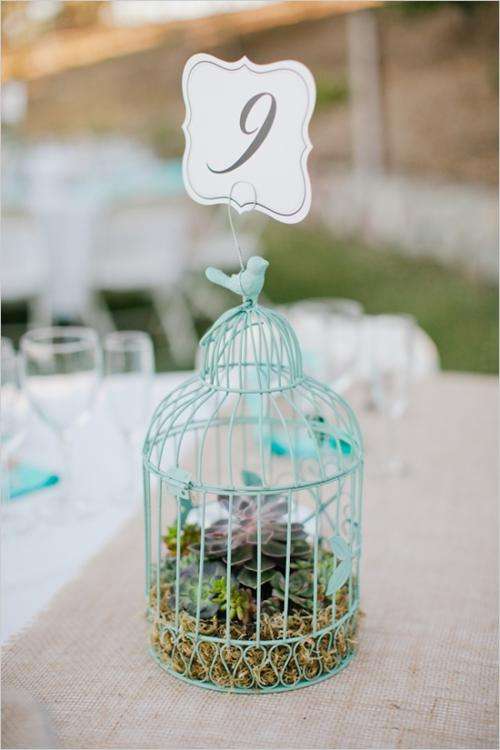
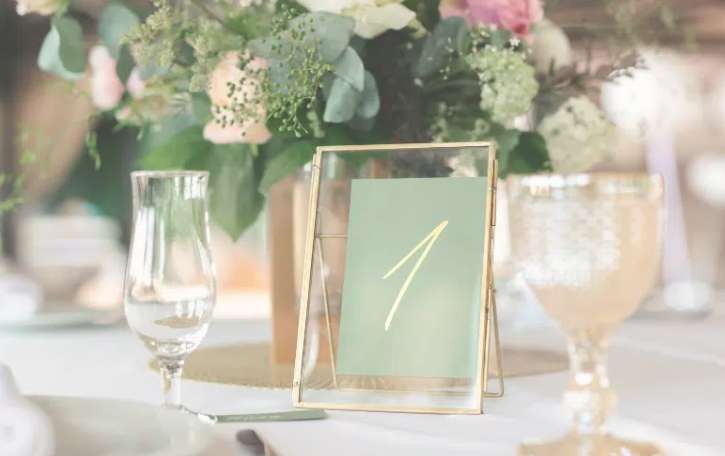
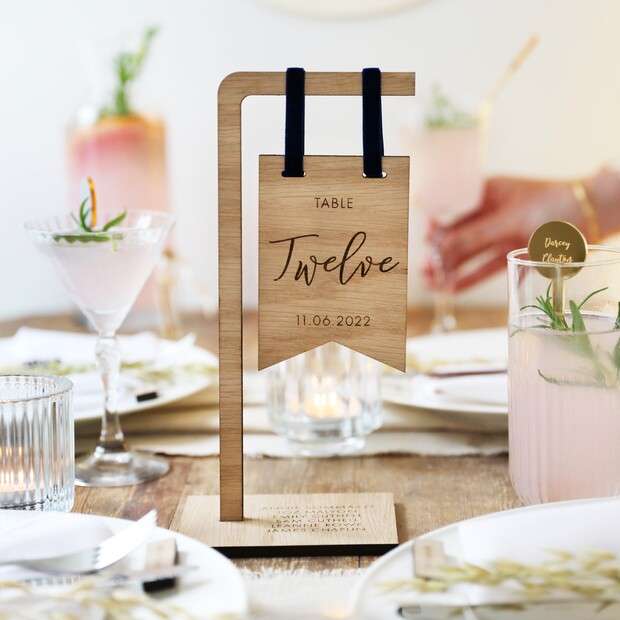
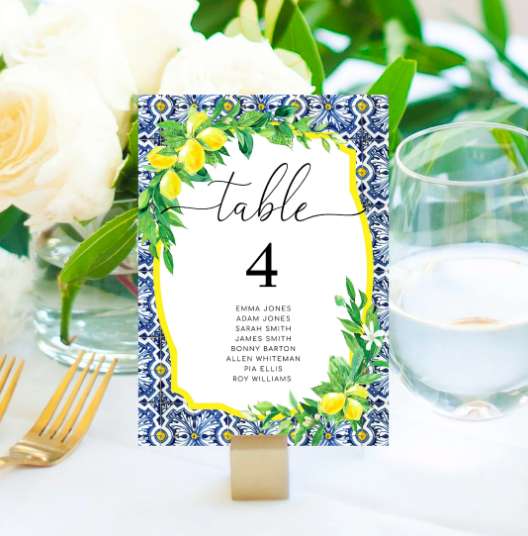
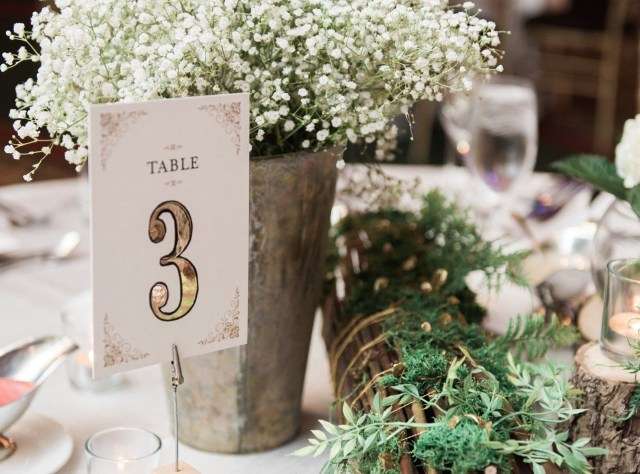
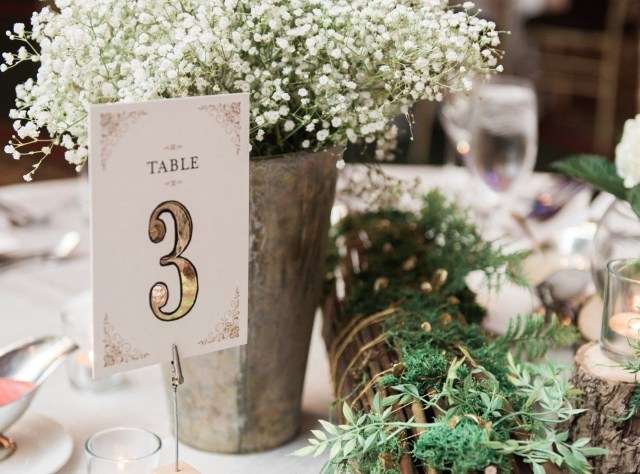
Now that you have decided on a numbering system and table placement, it's time to select the materials for numbering. Table numbers can come in various forms - from simple paper cards to more elaborate decorative stands or even personalized items that match the theme of the wedding or event.
Choose materials that are visually appealing and match the overall design aesthetic.
5. Design and Print the Table Numbers
If you create your table numbers, consider using design software or online templates to create a visually pleasing and uniform look. Ensure that the font and color choices are clear and easy to read.
Print the table numbers on high-quality cardstock or paper, and cut them to the desired size.
6. Place the Table Numbers
Once the table numbers are ready, it's time to put them in place. Set the table numbers in a visible location on each table, such as in the center or on a stand. Ensure they are securely placed so they don't get knocked over during the event. Also, think about the layout of them with your personalized wedding napkins.
7. Communicate the Seating Arrangement
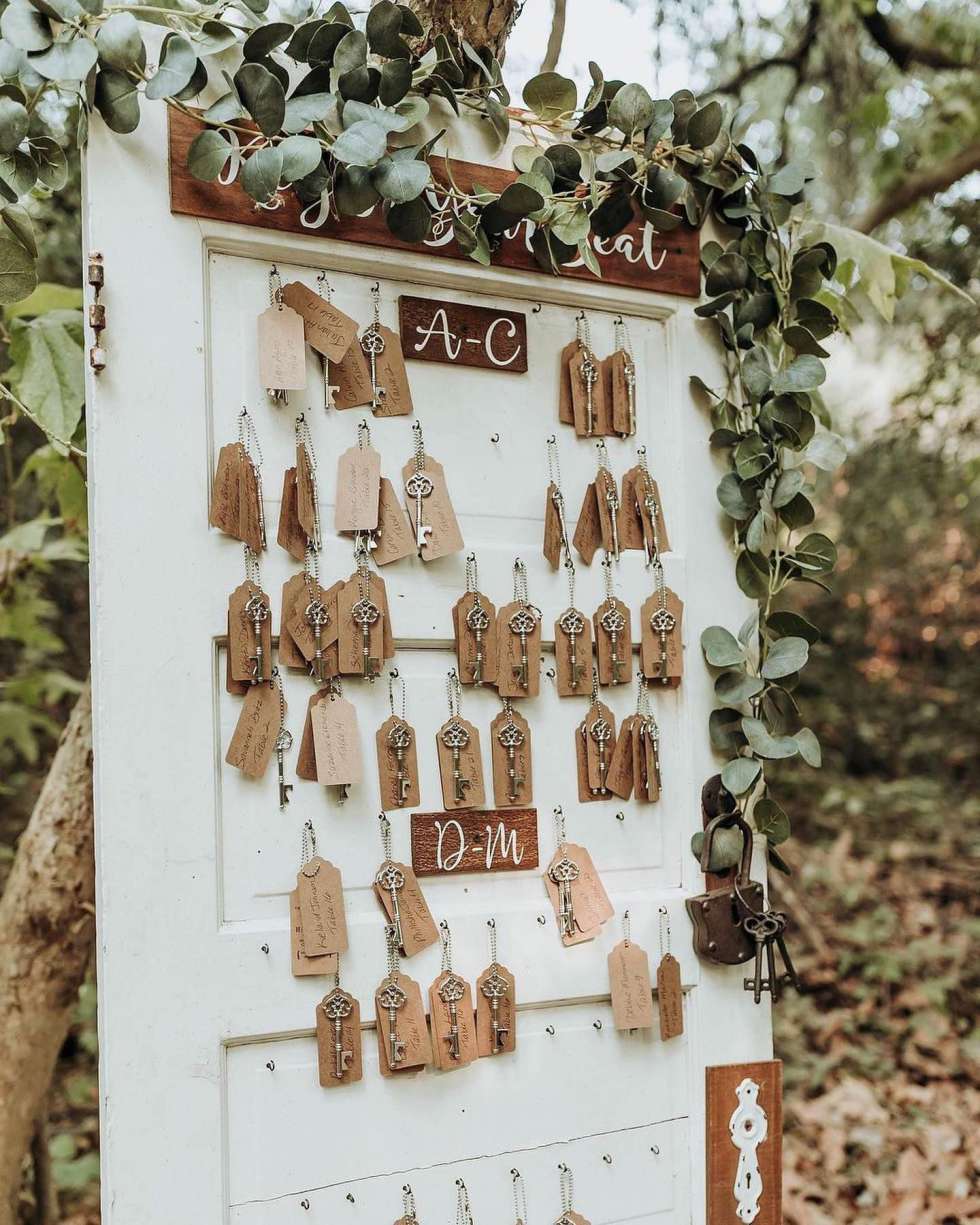
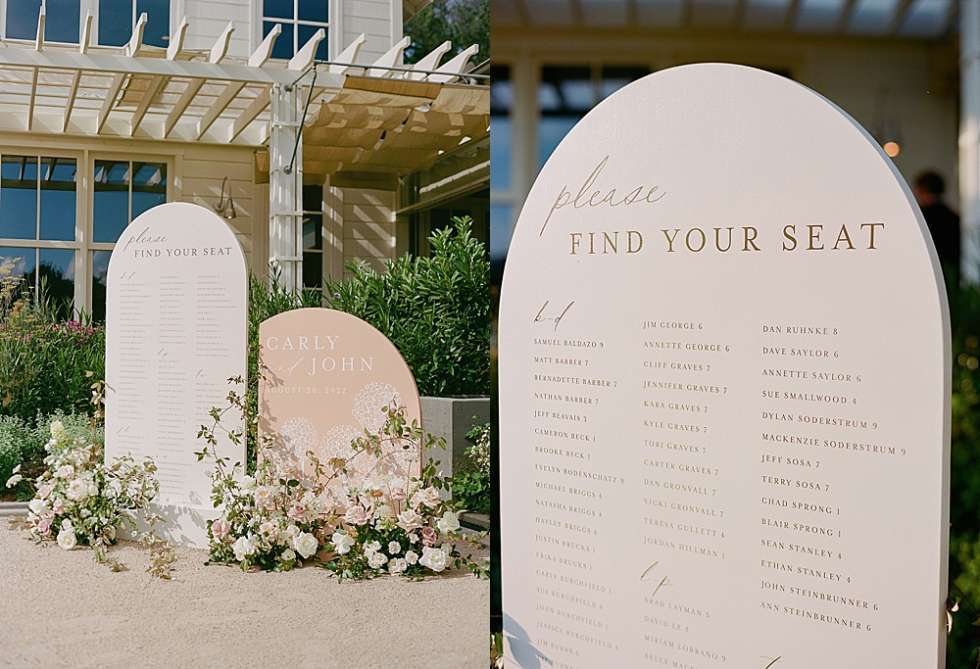
On the seating chart or place cards, indicate which table corresponds to each guest or group.
This will ensure that guests can easily find their assigned table. If you prefer, you can also name each table after the guest or group assigned to it.
8. Test the Seating Layout
Before the actual wedding or event, it's recommended to do a thorough run-through of the seating arrangement. Sit in various seats to ensure that the table numbers are easily visible and that guests will be able to find their assigned places.
Following these steps, you can efficiently number tables at a wedding or event, making it easier for guests and event staff. Properly numbered tables contribute to a well-organized and enjoyable experience for everyone involved. Happy planning!
Final Thoughts On Your Wedding Table Numbers
You should be enjoying your wedding day. It's your special day. You should not worry about organizing guests.
Use these tips to organize your wedding table numbers easily.
Have an amazing wedding.


